


Considering installing a new wall in your bathroom or does your bedroom floor need a refreshing touch? Choose SPC. Read here why!
Weiter lesen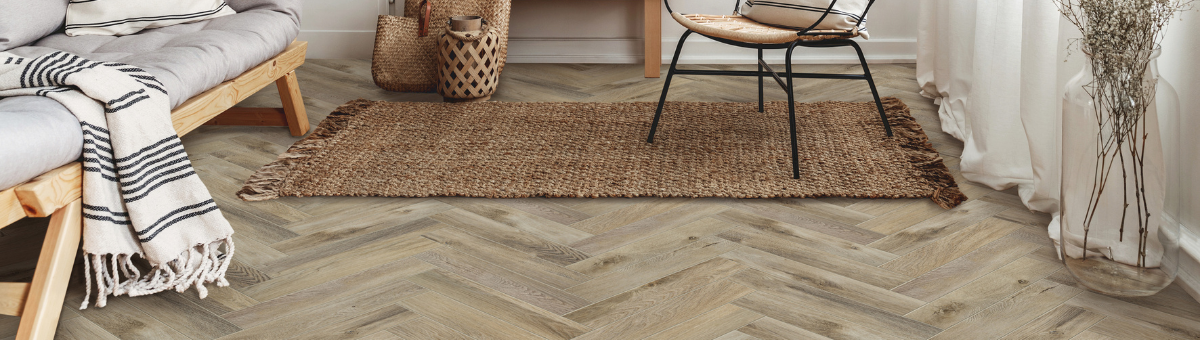
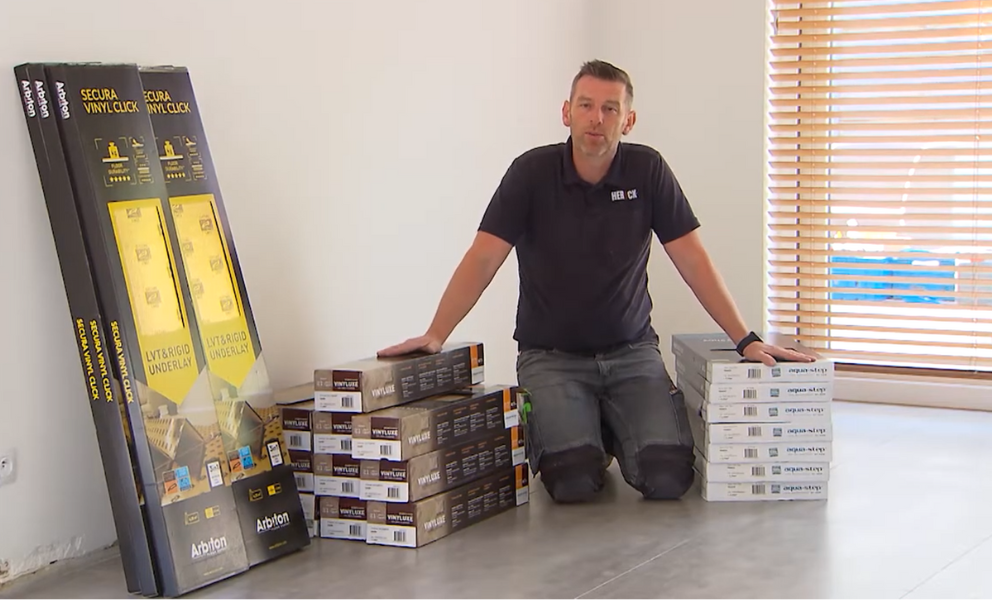
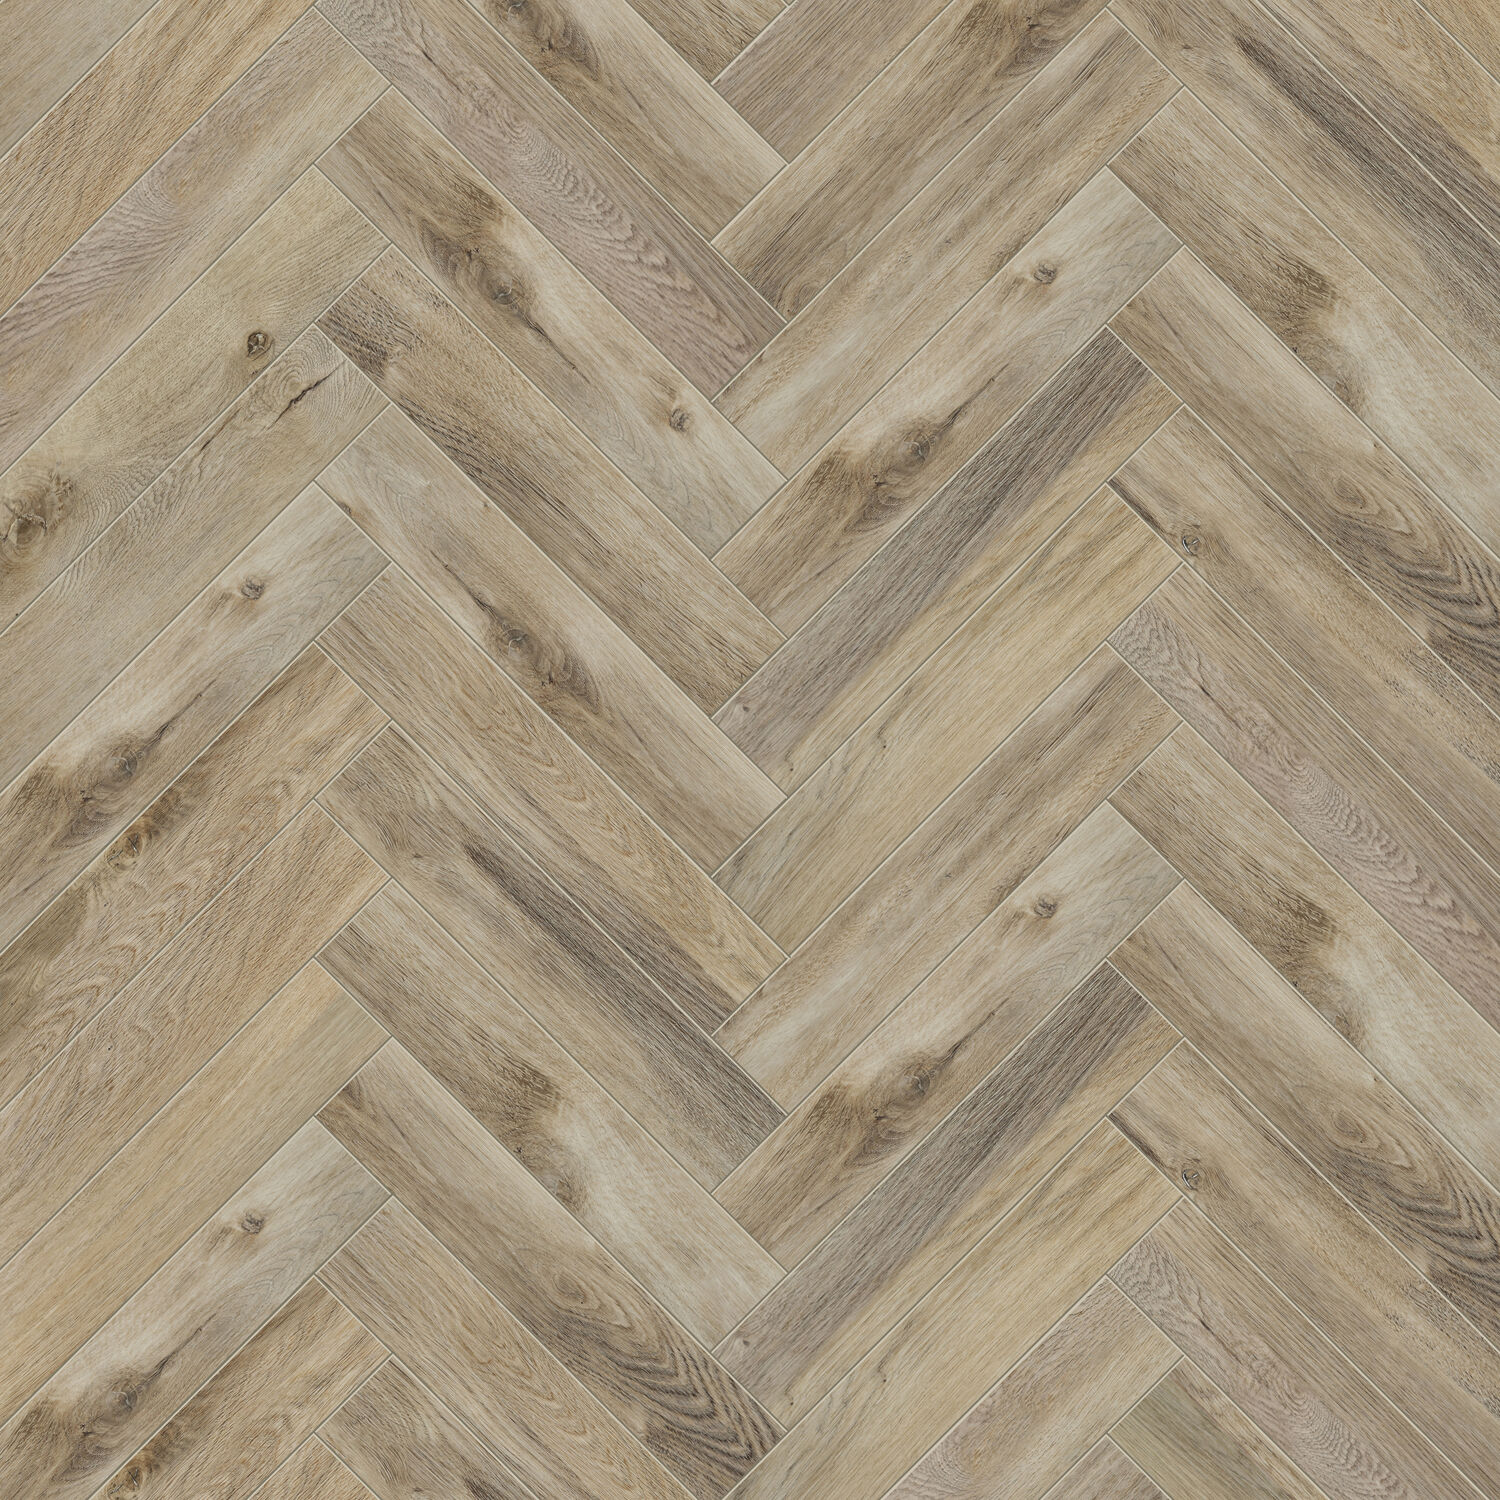
If you acclimatise the Aqua-Step Herringbone panels, you ensure that the SPC floor stays in top condition. If the herringbone floor is leant against a wall, there is a good risk that it will bend. By allowing the panels to acclimatise for at least 48 hours, the planks will not experience excessive expansion or contraction afterwards.
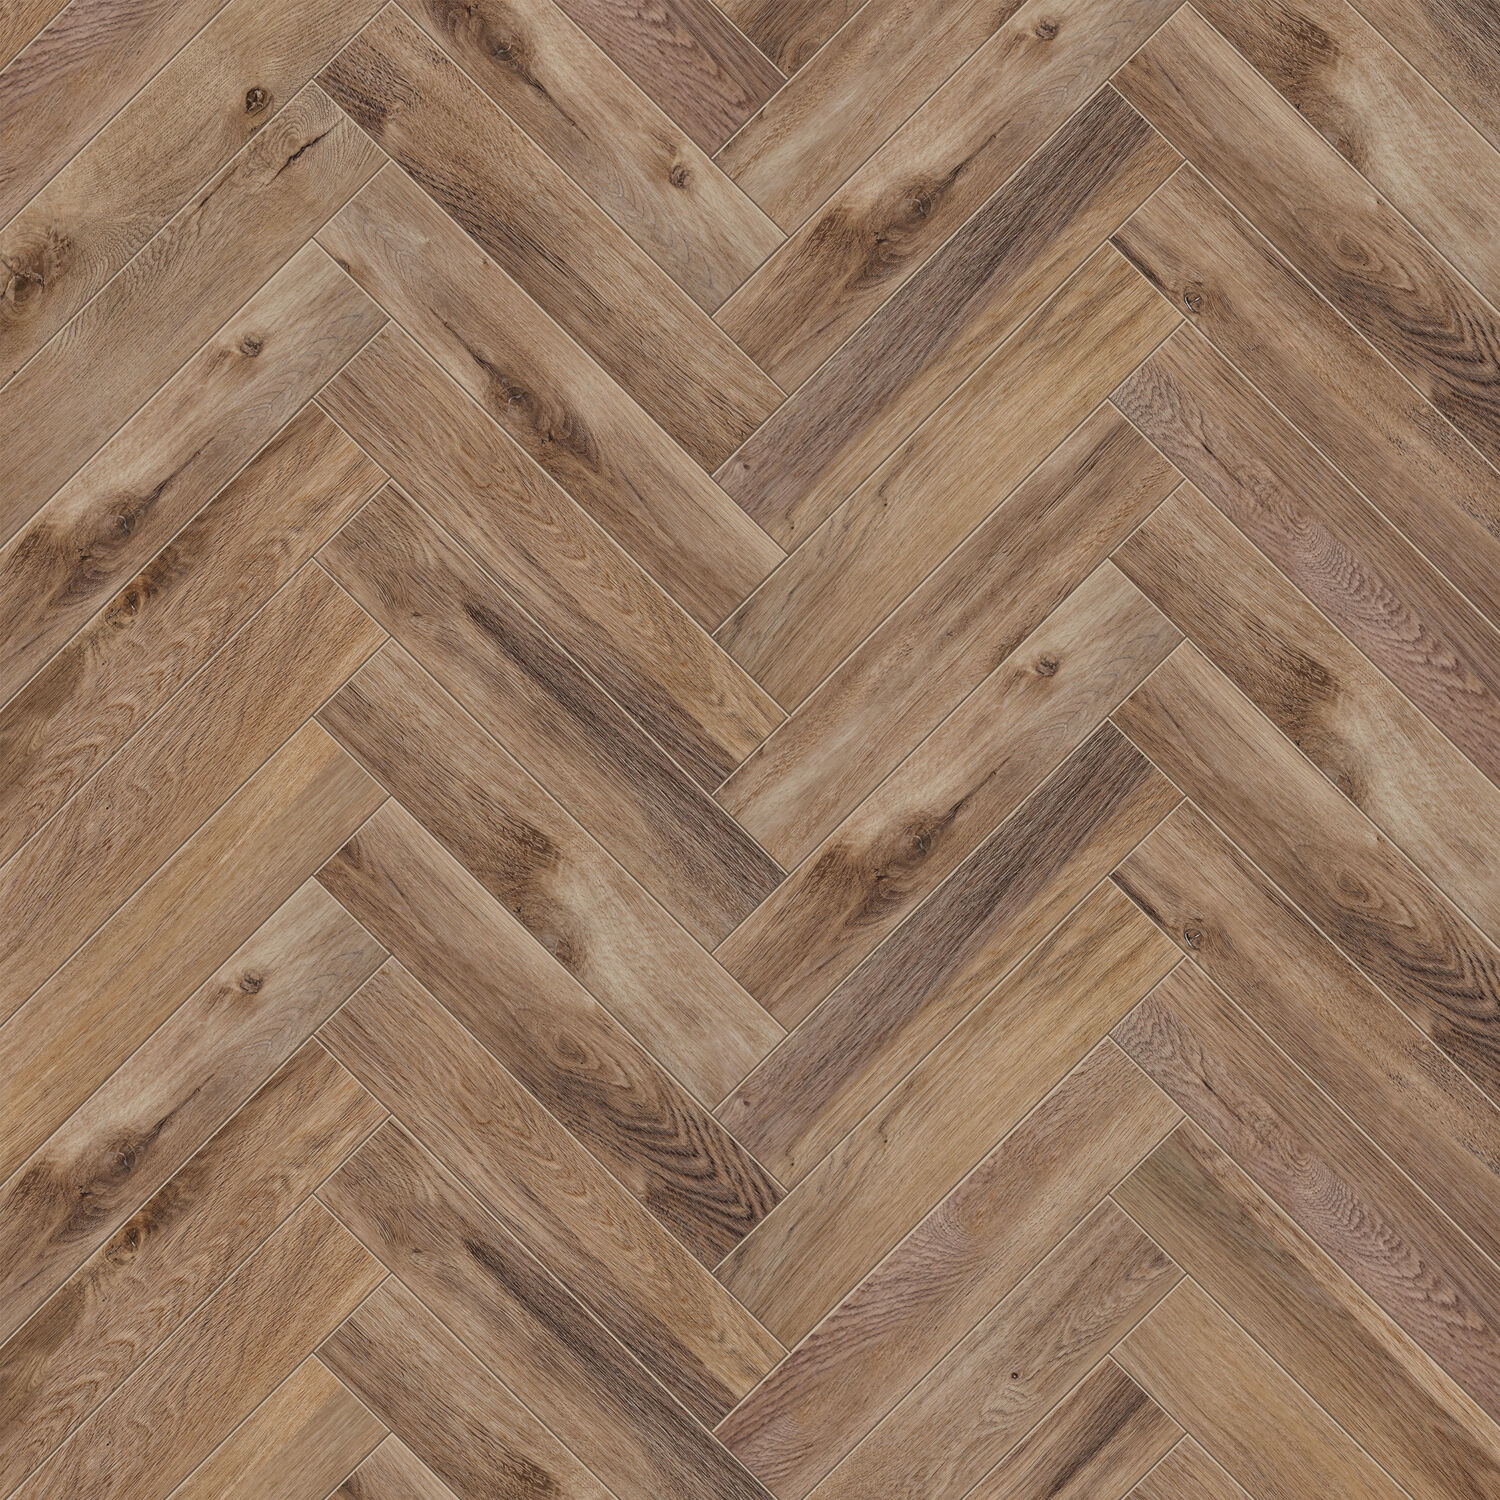
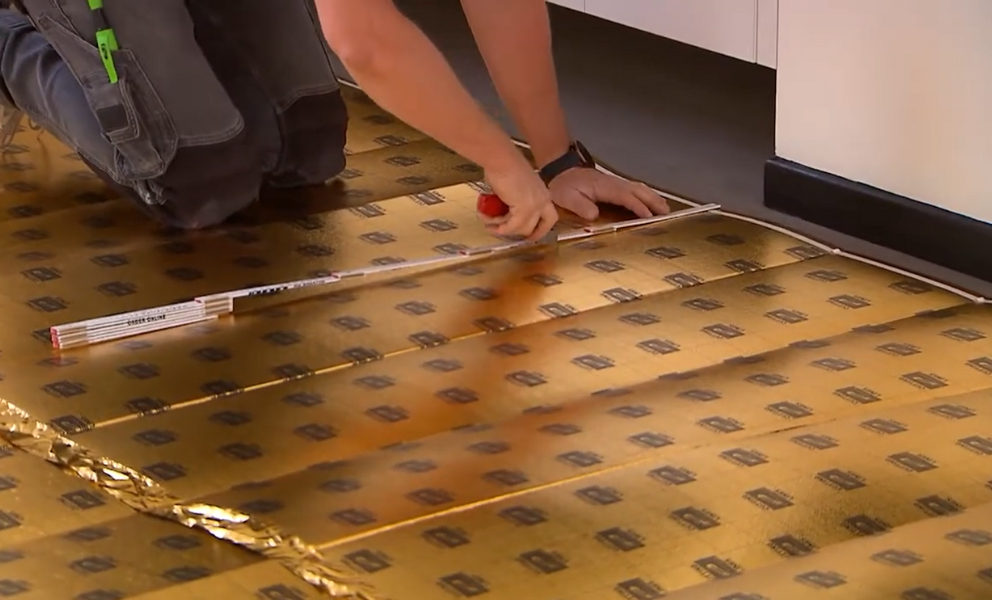
The key to a successful herringbone floor installation lies in a well-prepared subfloor. Make sure it's clean, level, and free from any imperfections that might affect the final result. Repair any cracks or uneven areas and allow the subfloor to completely dry before proceeding. It is recommended to lay a sound absorbing barrier suitable for SPC floors such as the HDM secura LVT Click Smart N underlay.

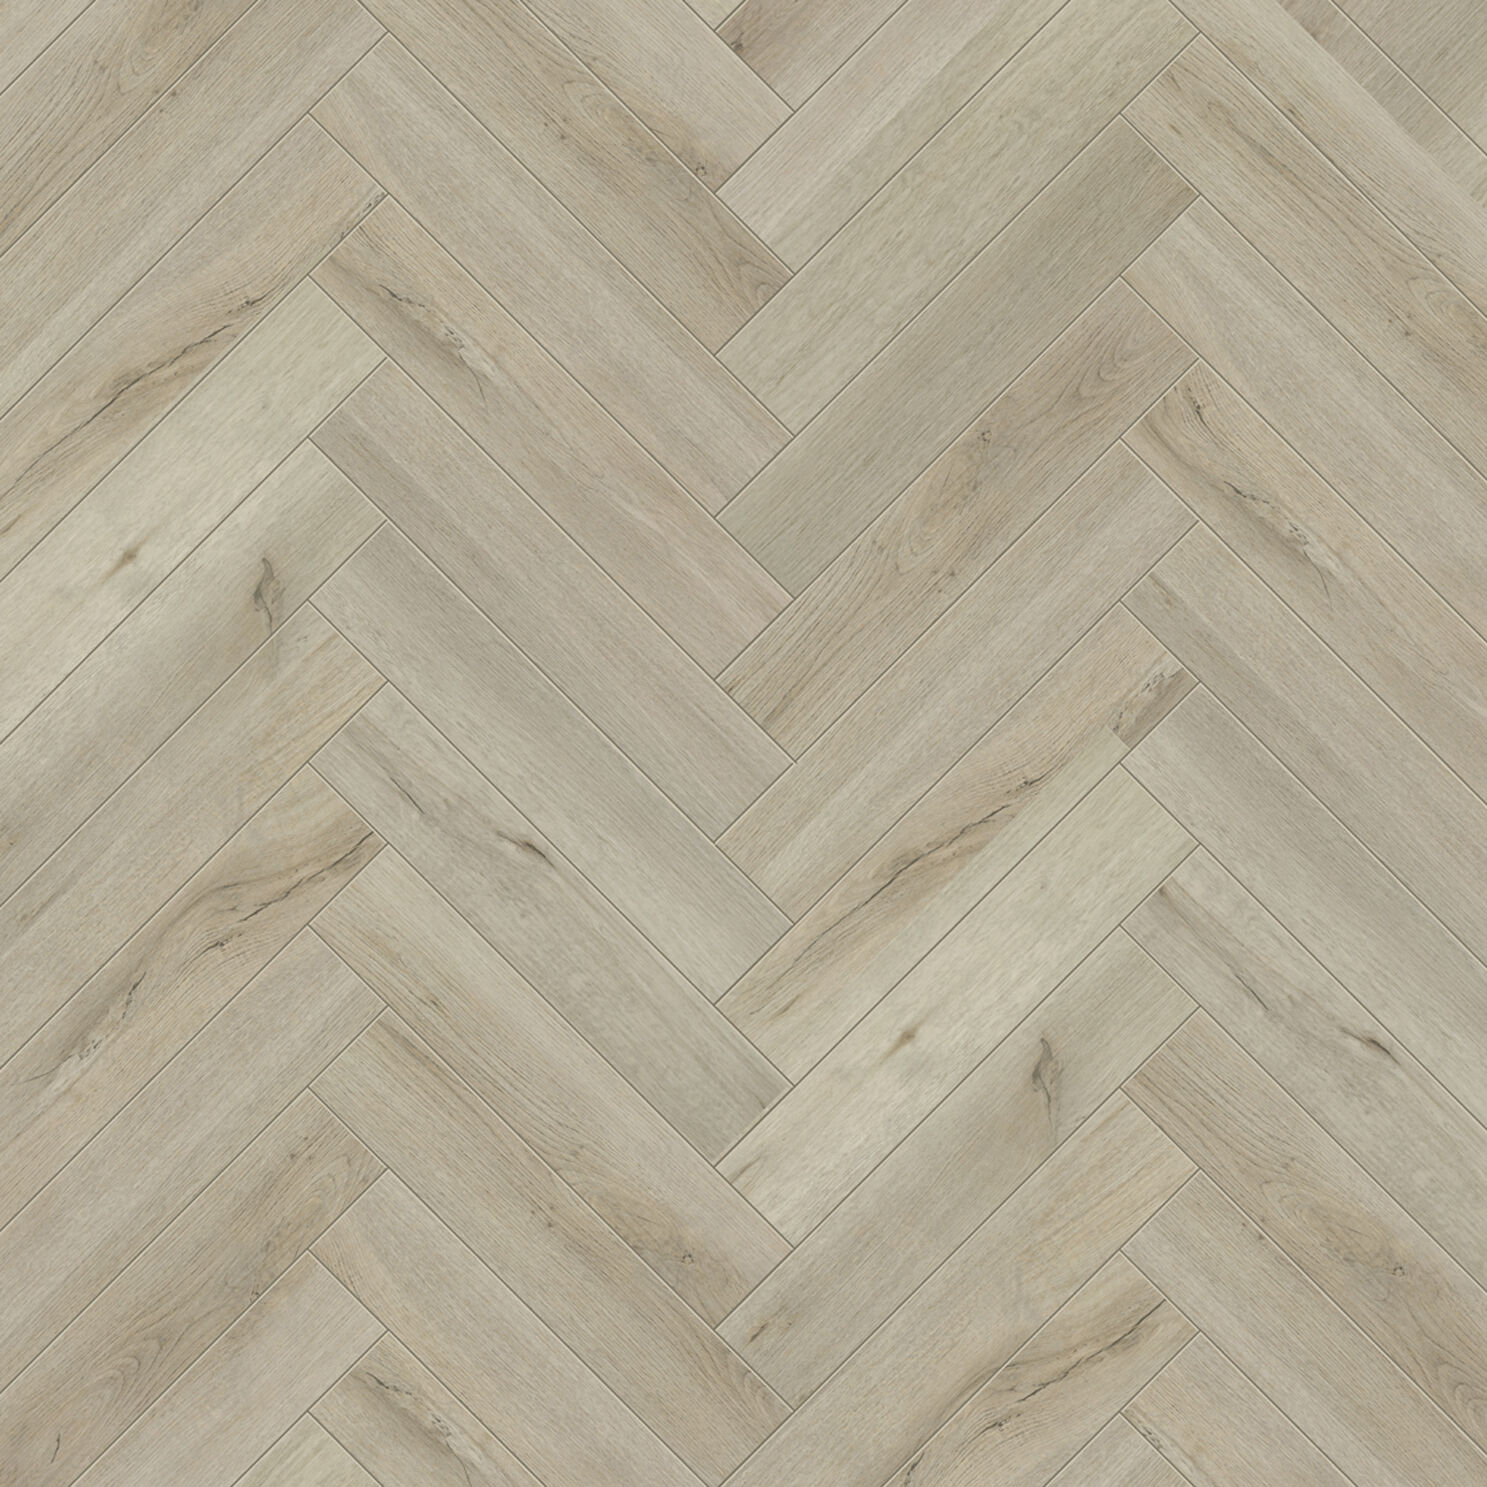
Vinyluxe Herringbone is suitable for laying in a floating manner. Use spacers to ensure a 5mm expansion gap on all sides when the length / width of the floor does not exceed 5 meters. For a longer / wider floor, add 1mm per linear meter. The maximum floor dimensions without expansion joint is 12 x 8 meter. When the panels are installed in rooms with humid conditions we recommend the full surface gluing method.
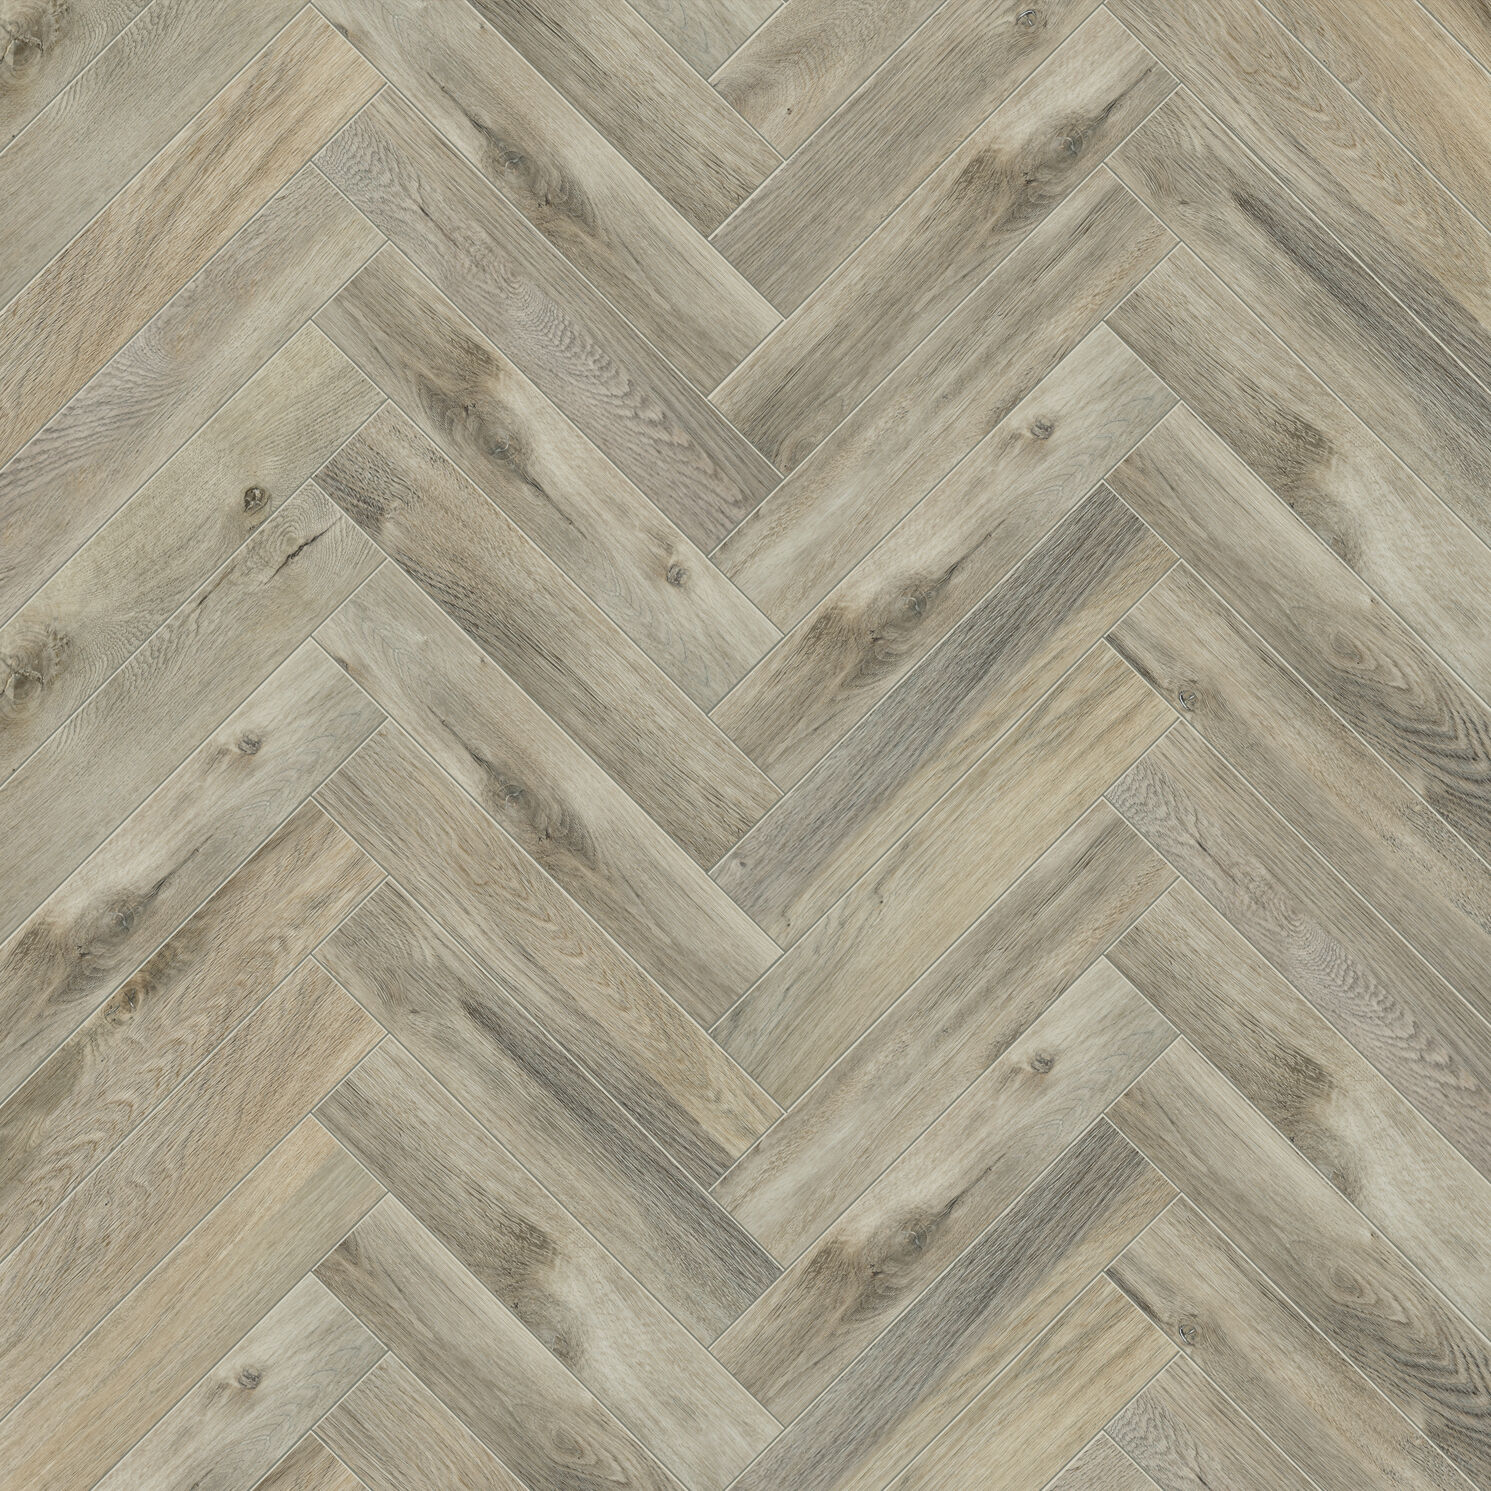
To obtain the best visual effect, it is best to fit the herringbone in the direction of the longest wall and parallel to the incidence of light. Measure the width of the room and mark the centre line on the subfloor. To centre the herringbone pattern in the room, mark a working line 43 mm to the right of the centre line. Start with installing the starting triangles and continue laying the floor. Ensure that the butt ends of the herringbone panels in the pattern are aligned with each other and that the surface is even.
Considering installing a new wall in your bathroom or does your bedroom floor need a refreshing touch? Choose SPC. Read here why!
Weiter lesen
Give your bedroom the makeover it deserves and change the style of your living room. Explore the numerous possibilities of herringbone floors here! Read more!
Weiter lesen
Looking for a floor for your dogs and cats? Then you can't miss this blog! Discover more.
Weiter lesen