


Are you frequently coming across the terms SPC and PVC while searching for the perfect flooring but unsure about their differences? Read on as we explain the distinction between PVC and SPC.
Continue reading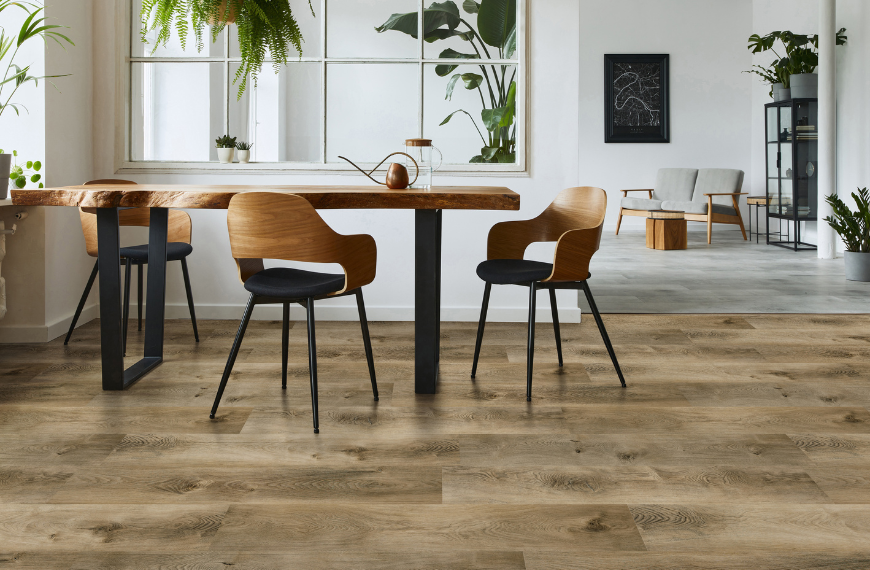

Acclimatizing a new floor is a pivotal step that's frequently overlooked. Regardless of whether it's PVC, laminate, parquet, or solid wood, the significance of this phase cannot be emphasized enough. When you purchase a new floor, it's often manufactured and packaged under different climatic conditions than those in your living or workspace.
The act of acclimatization ensures the floor adjusts to the room's temperature and humidity level where it will be laid. This prevents potential warping, swelling, or shrinking post-installation. Therefore, it's paramount for the floor, while still in its unopened packaging, to be given ample time to adapt to its new surroundings.
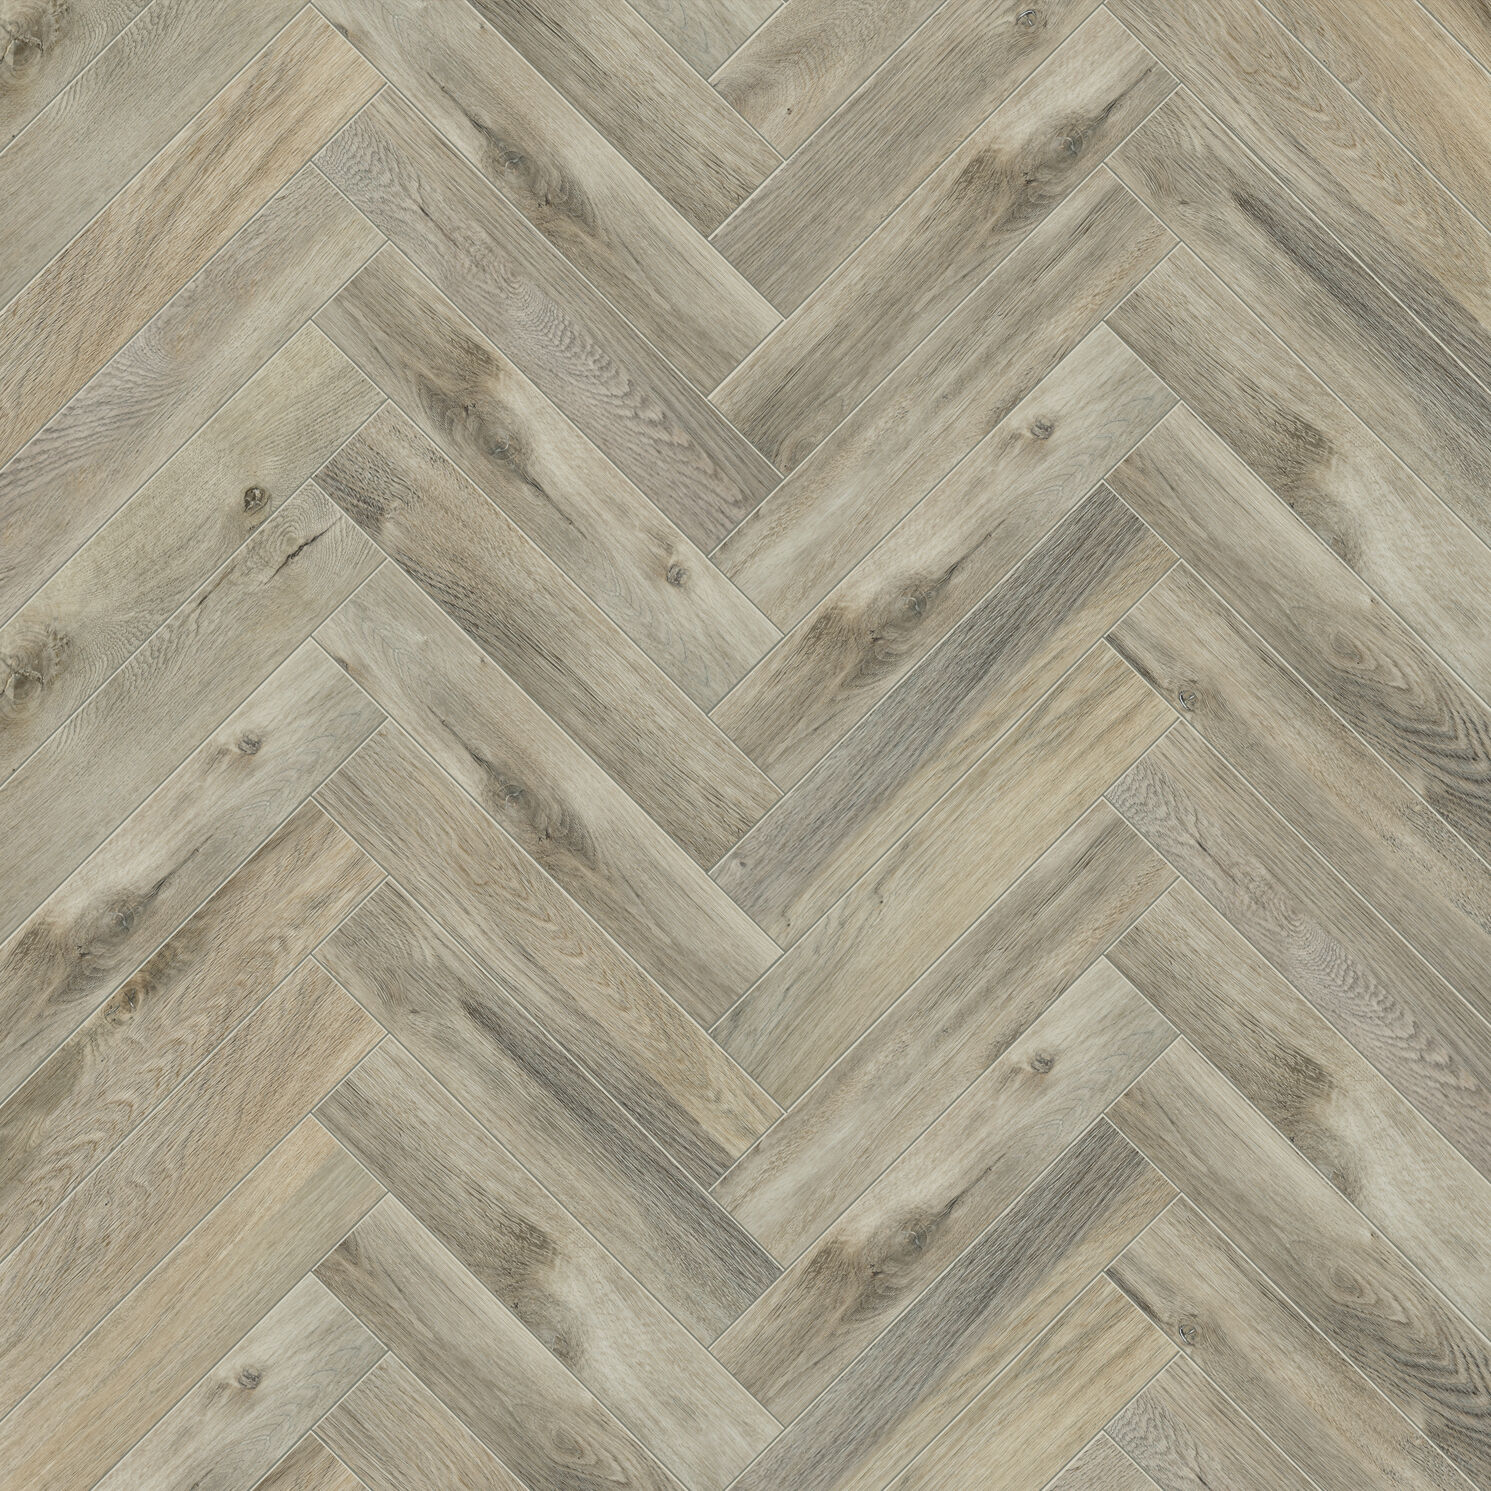
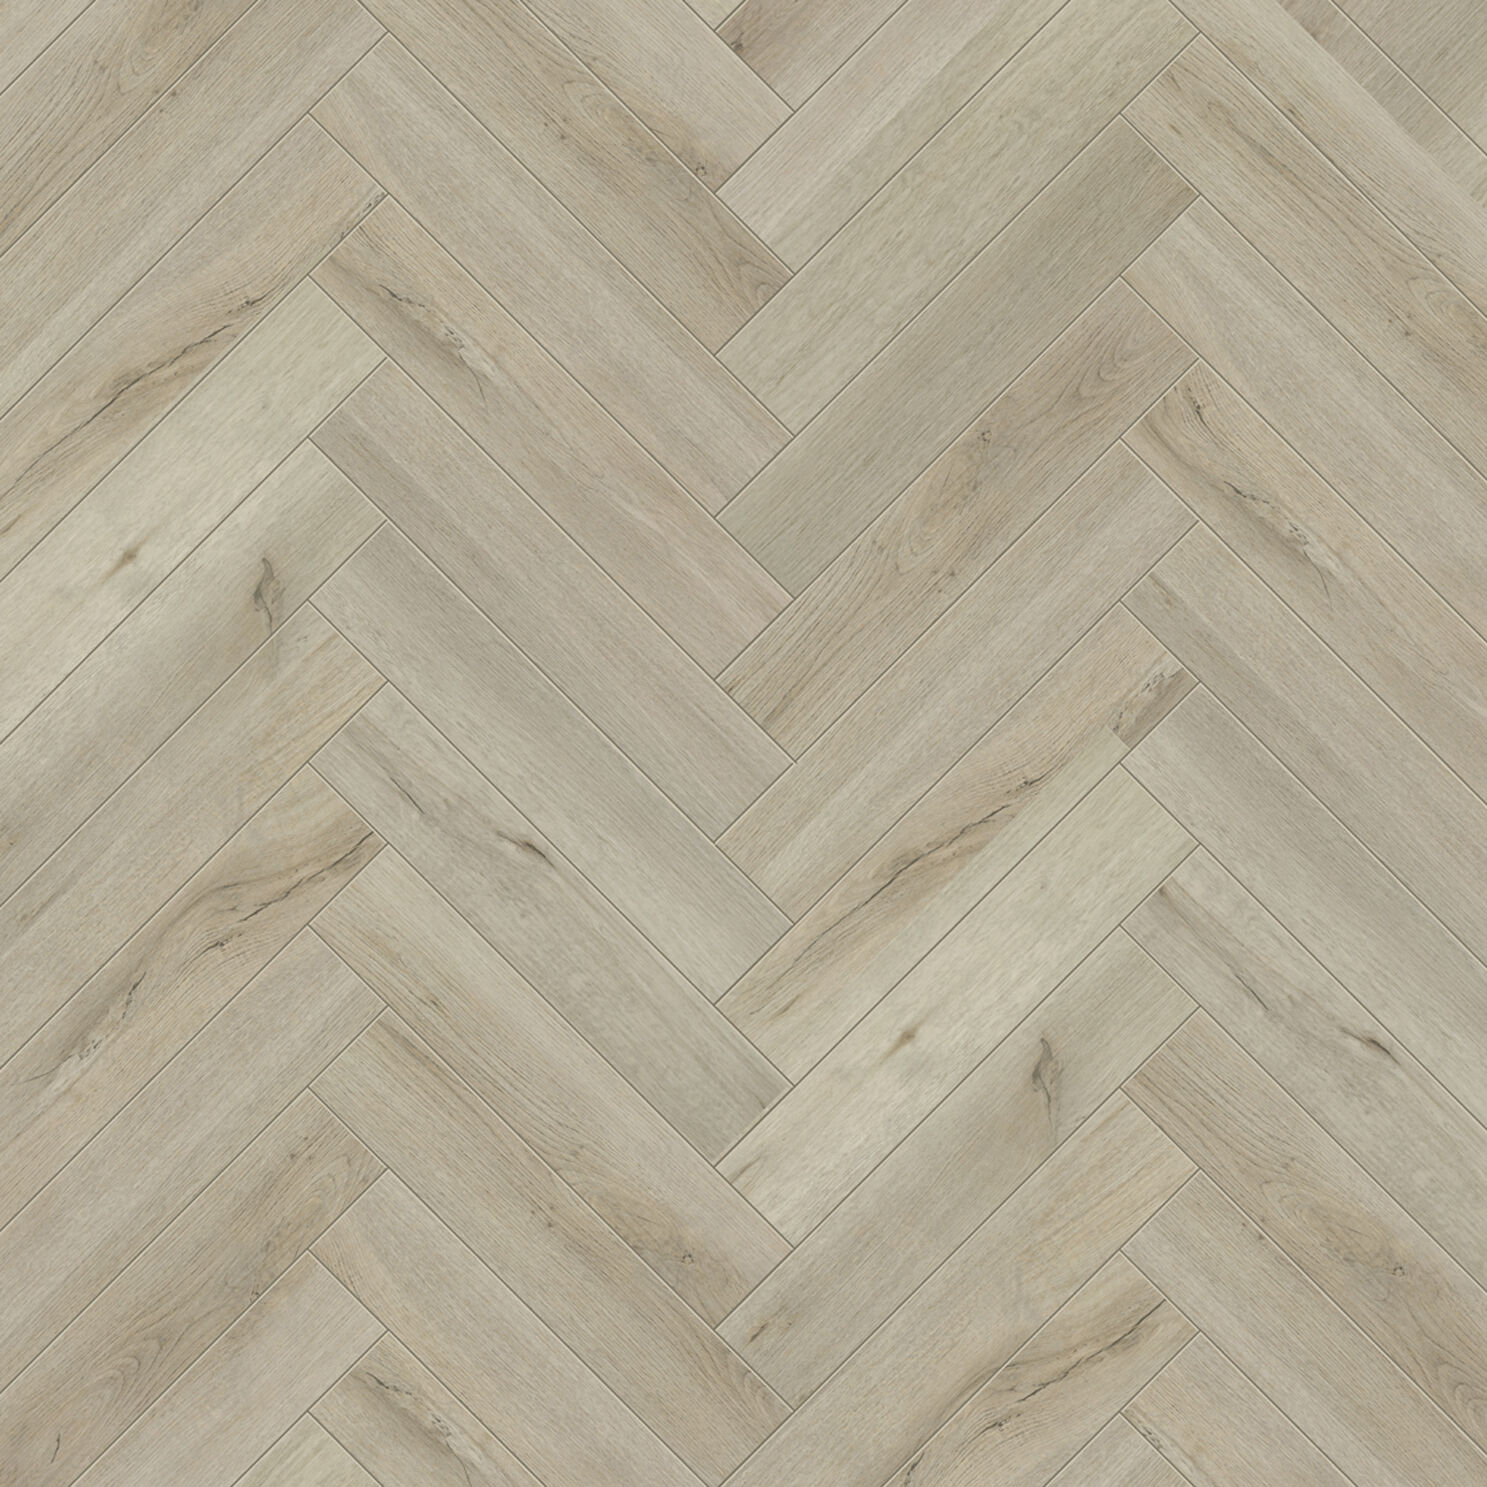
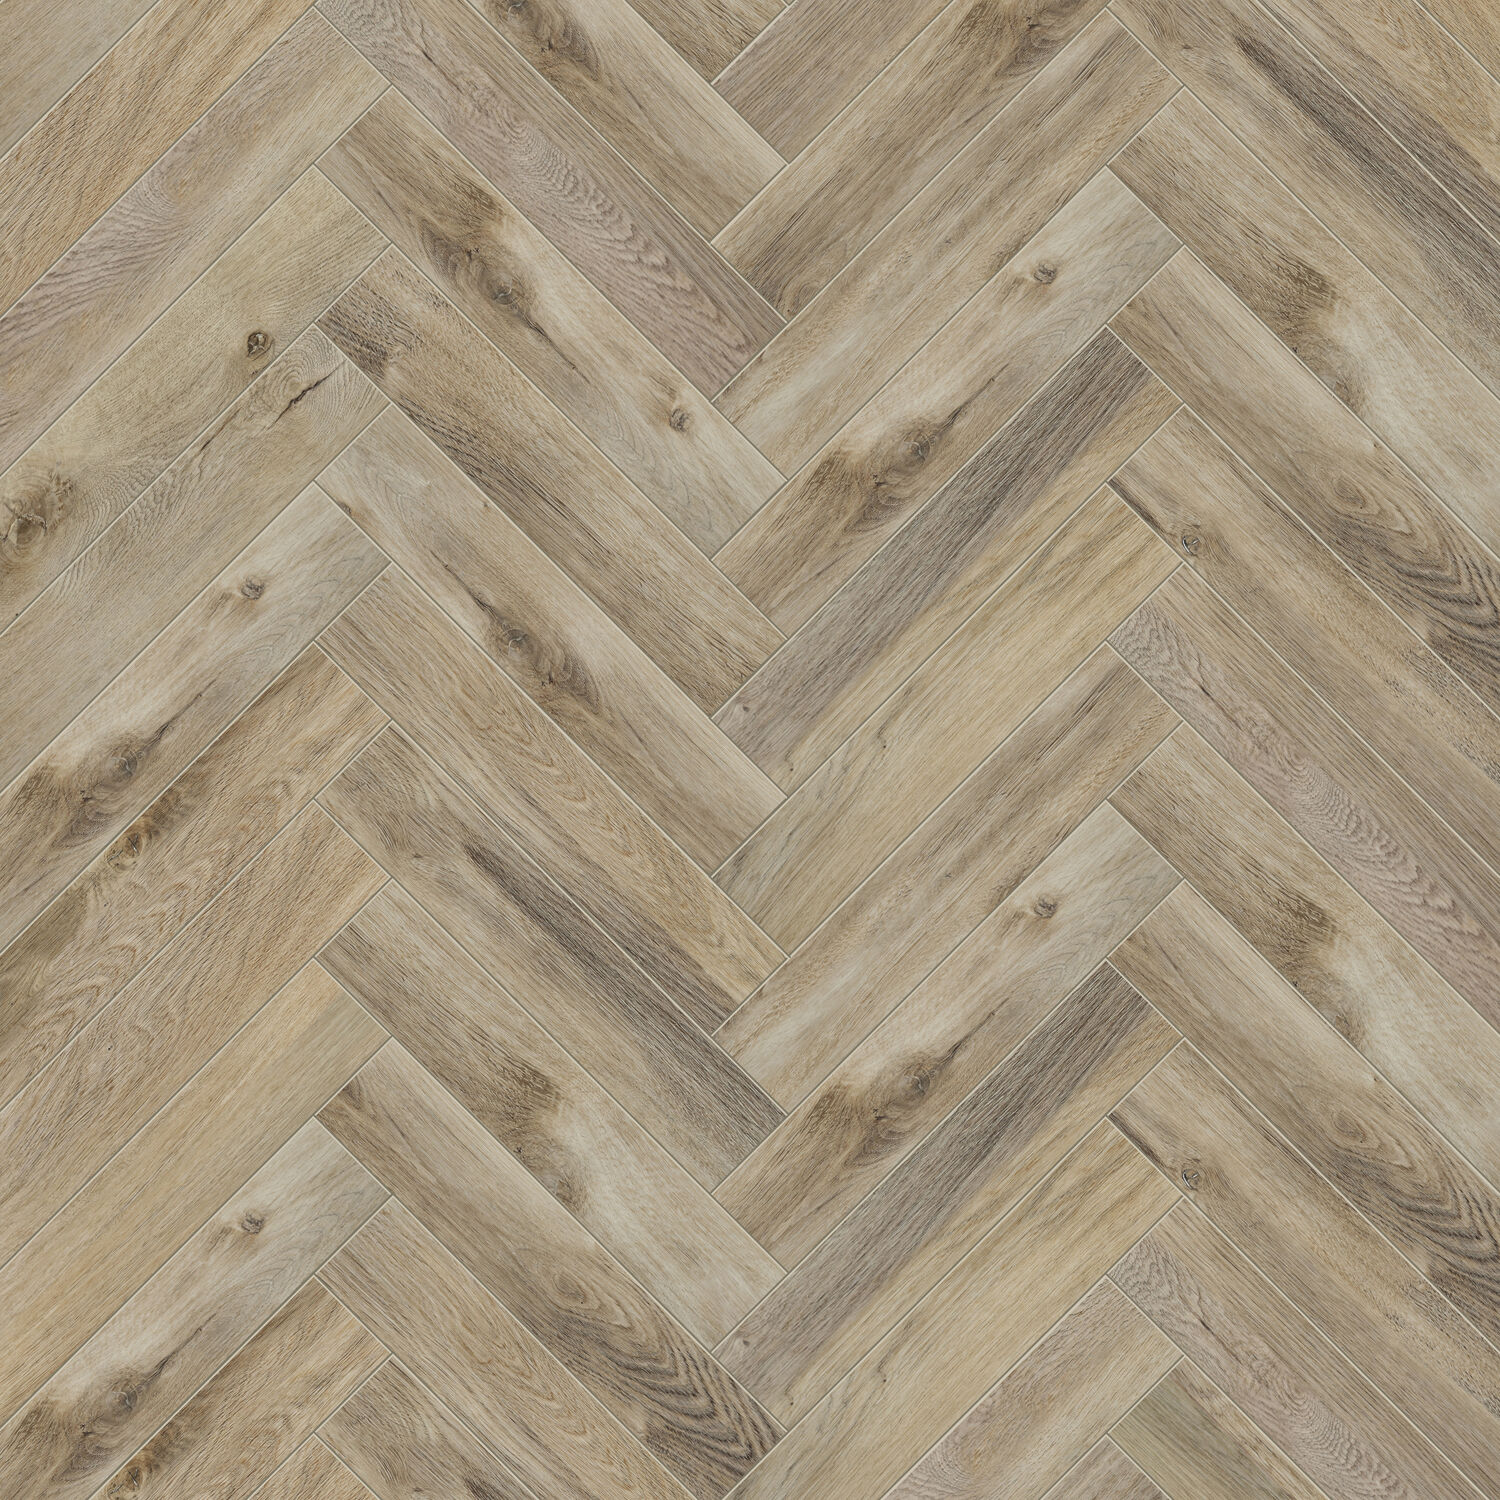
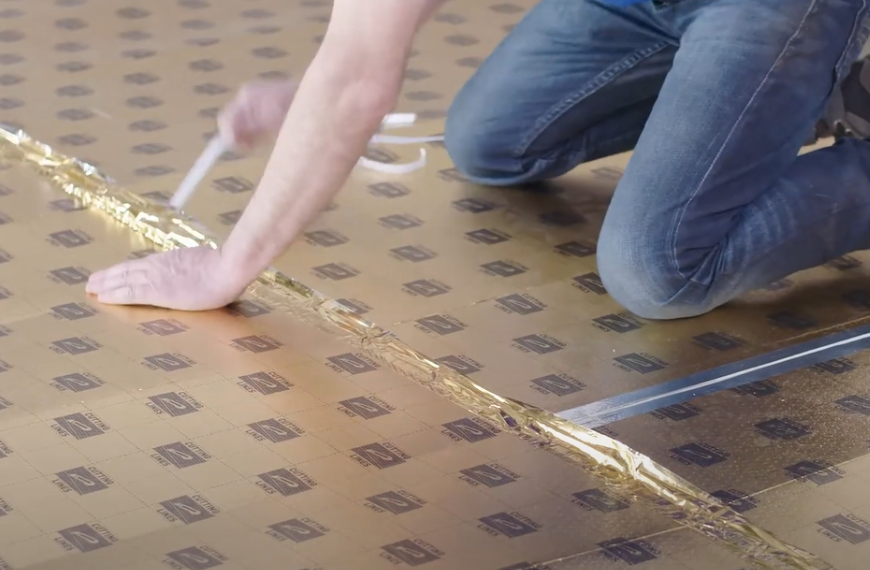
The key to a successful herringbone floor installation lies in a well-prepared subfloor. Make sure it's clean, level, and free from any imperfections that might affect the final result. Repair any cracks or uneven areas and allow the subfloor to completely dry before proceeding. It is recommended to lay a sound absorbing barrier suitable for SPC floors such as the HDM secura LVT Click Smart N underlay.

The right tools and materials are crucial for any job. Whether you're about to lay a floor or finish a wall, ensure you have the essential tools on hand. Start by gathering all the necessary materials and check their conformity.
Next, we will lay the floor. Start in a corner and work towards the opposite side of the room. Our SPC floors have a click system that allows you to easily snap the boards together. Pay close attention to the installation instructions we provide, as each floor might differ slightly. It's vital to leave a small expansion joint at the edges of the room since SPC can expand and contract with temperature changes.

Are you frequently coming across the terms SPC and PVC while searching for the perfect flooring but unsure about their differences? Read on as we explain the distinction between PVC and SPC.
Continue reading
Looking for an efficient way to clean your SPC flooring? Discover the best methods and tips for thorough cleaning. Read more!
Continue reading
Have you purchased SPC flooring but unsure about its installation? Uncover a detailed, step-by-step process to masterfully lay your SPC flooring. Learn more!
Continue reading