


Are you frequently coming across the terms SPC and PVC while searching for the perfect flooring but unsure about their differences? Read on as we explain the distinction between PVC and SPC.
Continue reading
In order to maintain the peak condition of your Stone Polymer Composite (SPC) flooring, it's crucial to condition the Aqua-Step Herringbone panels prior to installation. Leaning the Aqua Click Tiles against a wall poses a high likelihood of warping. To circumvent this issue, allocate a minimum of 48 hours for the panels to condition. This process minimizes the risk of undue expansion or contraction post-installation.
The cornerstone of a flawless Click tiles flooring installation resides in the meticulous preparation of the subfloor. Ensure it is immaculate, uniformly level, and devoid of any defects that could compromise the ultimate outcome. Remediate any fissures or irregular surfaces and permit the subfloor to thoroughly desiccate prior to advancing further. The incorporation of an acoustically insulating layer, specifically designed for Stone Polymer Composite flooring—such as the HDM Secura LVT Click Smart N underlay—is highly advisable.
If you prefer not to use an underlay, you still have the option to adhere the panels directly over the existing floor tiles. However, it's imperative that the current surface is sufficiently level!
Aqua Click Tiles floor is optimally designed for a floating installation methodology. To guarantee dimensional stability, employ spacer tools to maintain a precise 5mm expansion buffer along all perimeters when the floor dimensions do not surpass 5 meters in either length or width. Should the expanse of the floor exceed these dimensions, it is advisable to incrementally add 1mm per each additional linear meter.
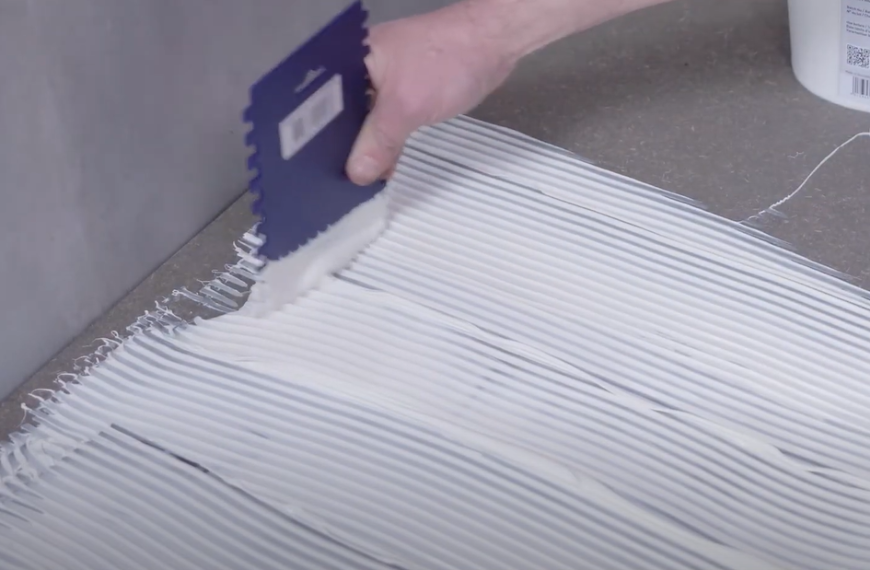
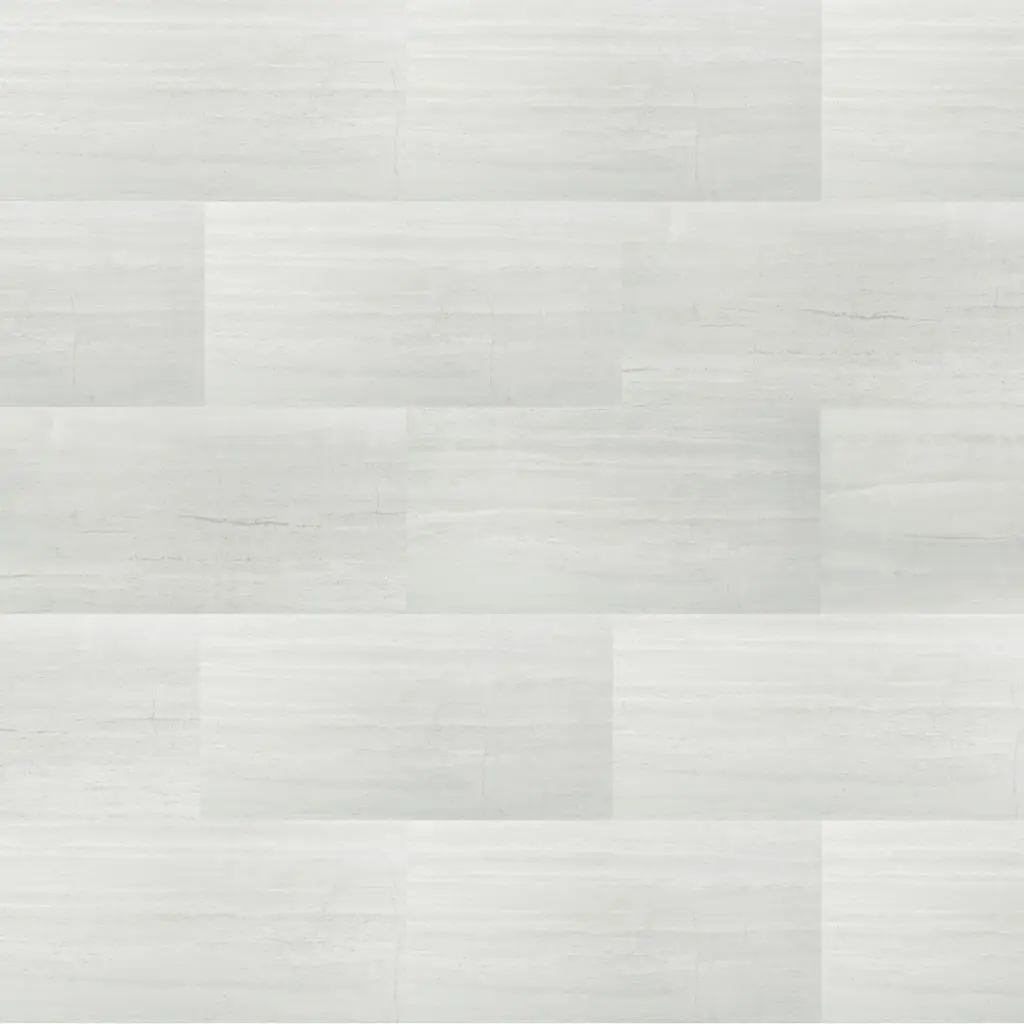
The maximum allowable dimensions for the floor without necessitating an expansion joint are 12 by 8 meters. For installations in environments with elevated humidity levels, we strongly advocate for the utilization of a full-surface adhesive technique. To achieve the most aesthetically pleasing visual impact, align the herringbone pattern in a direction parallel to both the longest wall and the axis of natural light incidence.
Carefully ascertain the room's width and subsequently delineate the central axis on the subfloor. To geometrically center the Click tiles design within the room's parameters, mark an operational line precisely 43mm to the right of the identified central axis.
Initiate the installation process with the positioning of the starting triangles and proceed systematically with the remainder of the flooring. It is imperative to ensure that the terminal edges of the Click Tiles panels within the pattern are in flawless alignment and that the completed surface exhibits a uniform plane.


Are you frequently coming across the terms SPC and PVC while searching for the perfect flooring but unsure about their differences? Read on as we explain the distinction between PVC and SPC.
Continue reading
Looking for an efficient way to clean your SPC flooring? Discover the best methods and tips for thorough cleaning. Read more!
Continue reading
Have you purchased SPC flooring but unsure about its installation? Uncover a detailed, step-by-step process to masterfully lay your SPC flooring. Learn more!
Continue reading